Air Tightness Testing: What It Is, Why It Matters and How It Works
Published: 19.01.2026
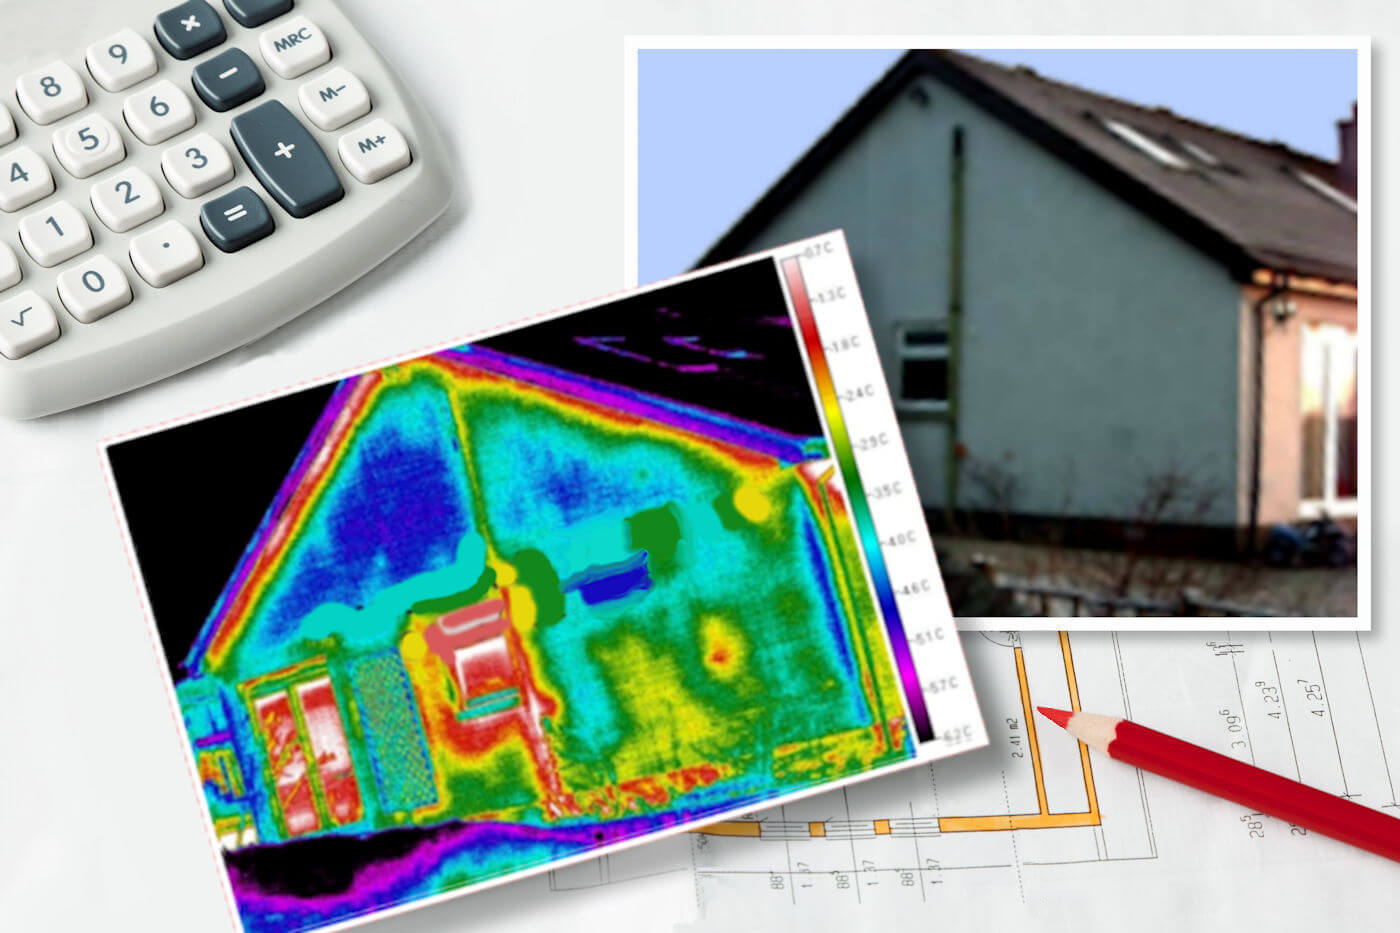
Air tightness testing is one of the most effective ways to understand how much air is leaking in and out of a building. Whether you are a homeowner, self-builder, developer or commercial property owner, uncontrolled air leakage can lead to higher energy bills, uncomfortable draughts and failure to meet building regulations.
At Thermal Image UK, air tightness testing has been one of our main services since the company was established in 2008. With thousands of tests carried out across Scotland and the wider UK, our team brings both technical accuracy and practical insight to every project.
This guide explains what air tightness testing is, why it matters, and how the process works in practice.
What Is Air Tightness Testing?
Air tightness testing (sometimes called air permeability testing or blower door testing) measures how much air escapes from a building through gaps, cracks and unsealed junctions.
No building is completely airtight, but excessive leakage means heated air escapes in winter and warm air enters in summer. The result is wasted energy, a less comfortable space and poor control over conditions inside.
An air tightness test applies controlled air pressure to a building and measures how much air is needed to maintain that pressure. The higher the air leakage, the worse the result.
Air tightness testing is commonly required for:
- Newly built homes
- Commercial buildings
- Schools and public buildings
- Passivhaus and low-energy projects
- Major refurbishments
Why Air Tightness Testing Matters
Less Energy Loss
One of the main reasons for air tightness testing is to reduce heat loss. Warm air escaping through gaps in walls, ceilings, floors and around doors and windows forces heating systems to work harder than necessary.
Even well-insulated buildings can perform poorly if leaking air is not controlled. Air tightness testing identifies where energy is being lost so that it can be addressed properly.
Improving Comfort Levels
Draughts are a common complaint in both new and older buildings. Air leakage often causes cold spots, uneven temperatures, and uncomfortable living or working conditions.
By identifying leakage paths, air tightness testing helps create more stable and comfortable indoor environments.
Meeting Building Regulations
In Scotland and across the UK, air tightness testing is often required to demonstrate compliance with building regulations. Test results are used as part of energy performance calculations and certification.
Failure to meet the required standard can lead to delays, additional remedial work and re-testing. Early and accurate testing can help avoid these issues.
Supporting Low-Energy and Passivhaus Builds
For low-energy and Passivhaus projects, air tightness is critical. Even small leaks can significantly impact performance. Experienced testers and high-quality equipment are essential in these cases.
Thermal Image UK regularly carries out air tightness testing on Passivhaus builds and understands the level of detail required to achieve demanding targets.
How Air Tightness Testing Works
Step 1: Preparing the Building
Before the test begins, the building is prepared according to recognised standards. This typically includes:
- Closing external doors and windows
- Sealing intentional ventilation openings where appropriate
- Ensuring internal doors are open to allow pressure to equalise
Preparation is important, as incorrect setup can affect results.
Step 2: Installing the Blower Door Equipment
A blower door fan is fitted into an external doorway. Thermal Image UK uses a full range of Retrotec blower door equipment, allowing accurate testing of buildings of all sizes, from single homes to large commercial properties.
The fan is connected to pressure measurement equipment that monitors air movement through the building envelope.
Step 3: Pressurisation and Depressurisation
The fan either draws air out of the building or forces air in, creating a pressure difference between inside and outside. Sensors measure how much air is required to maintain that pressure.
This data is used to calculate the building’s air permeability or air leakage rate.
Step 4: Identifying Air Leakage Paths
During the test, air leakage points can be identified using:
- Smoke pencils or smoke machines
- Thermal imaging
- Physical inspection
This is where experience matters. A qualified air tightness tester can interpret results and identify the real causes of leakage, not just the symptoms.
Thermal Image UK often combines air tightness testing with thermal imaging to provide clear visual evidence of problem areas.
Common Causes of Air Leakage
Air tightness testing frequently reveals similar issues across different types of buildings. Common causes include:
- Unsealed drylining
- Gaps around windows and doors
- Poorly sealed service penetrations
- Loft hatches and roof junctions
- Junctions between walls, floors, and ceilings
In new homes, unsealed drylining is one of the most common and significant sources of heat loss.
Level 1 and Level 2 Air Tightness Testing
Air tightness testing is typically carried out at Level 1 or Level 2, depending on the project requirements.
Level 1 testing is suitable for standard compliance testing where no specialist diagnosis is required.
Level 2 testing involves more detailed investigation, fault finding, and interpretation of results.
Thermal Image UK is accredited to carry out both Level 1 and Level 2 air tightness testing and advises clients on which level is appropriate for their project.
For more information, don’t hesitate to contact our team today.